

How To Set Z Probe Offset
Setting the z-offset correctly is arguably one of the most challenging parts of installing a BLTouch, only it'south also the most important. If information technology's not done correctly, you will stop up with start layer problems and probably many failed prints. That said, the Marlin firmware now has a z-offset magician in the problems prepare line that helps out a lot and, combined with babystepping it helps you easily become the perfect z-offset.
Hither are the steps to ready and employ the Probe Offset, aka Z-Offset, Wizard.
- Update the firmware
- Run the Z-Offset Magician to Go Your Initial Z-Start
- Kick-Off Examination Print and Apply Babystepping to Make Adjustments
- Update Z-Offset *If needed
- Shop Settings to EEPROM
*This process assumes you are using the Marlin 2.x firmware. If you are non, check out this article on how to movement to information technology "Marlin Firmware on Creality Board – Consummate Guide!".
** This process has been tested using the Creality iv.ii.two, Creality 4.2.7, and SKR Mini e3 v2.0 mainboards.
What is the Z-Offset Wizzard
The Probe Offset Wizard, or usually referred to as Z-Start Wizard, is a magician that helps y'all set your z-starting time in a single step instead of having to get the outset value and go somewhere else to set it. It'south meant to make the process easier for users to use and sympathise. This feature is disabled by default in the firmware.
What is Babystepping
Babystepping allows you lot to make modest adjustments to the z-axis while press, enabling you lot to punch in your z-start without having to stop the print, brand an adjustment, and promise information technology's right. This characteristic used to be disabled past default in the firmware, but recent versions have it enabled.
Footstep-by-Step Setup Guide
Requirements
Required Hardware
- Creality 32-fleck Mainboard
- Micro SD carte *8GB or smaller
- SD card reader
- BLTouch
- Estimator
*Links are to Amazon, and for the products I use.
Required Software
- Visual Studio Code
Step-by-Step Guide
Update the Firmware
The get-go matter we need to practice is make a few changes to the firmware to enable the Z-Showtime Wizard and babystepping. In one case that'due south done, y'all will exist able to see the features in the console at the printer.
You can besides download a copy of Marlin I built with the required changes and use supplied configs as a starting bespeak. The firmware is available to download from "3D Printscape Marlin Builds".
Update Configuration Files
Here are the changes that demand to be made to the firmware.
Enable the Z-Starting time Sorcerer
Configuration_adv.h Changes
Path:Marlin\Configuration_adv.h
| Default Value | New Value |
|---|---|
| //#define PROBE_OFFSET_WIZARD | #ascertain PROBE_OFFSET_WIZARD |
| // #define PROBE_OFFSET_WIZARD_START_Z -4.0 | #define PROBE_OFFSET_WIZARD_START_Z -4.0 |
Enable Babystepping
Configuration_adv.h Changes
Path:Marlin\Configuration_adv.h
| Default Value | New Value | Notes |
|---|---|---|
| //#ascertain BABYSTEPPING | #define BABYSTEPPING | Depending on the firmware you are using, this may already be enabled. |
| //#ascertain BABYSTEP_DISPLAY_TOTAL | #ascertain BABYSTEP_DISPLAY_TOTAL | |
| // #define BABYSTEP_ZPROBE_OFFSET | #ascertain BABYSTEP_ZPROBE_OFFSET |
Build Firmware
VS Lawmaking user interface. That will boot off the build and shouldn't take longer than a couple of minutes to complete. You should meet success in the terminal window if everything worked. If it didn't, you volition be able to go the fault from in that location to troubleshoot.
Copy the Firmware to an SD Card
Once the firmware has been successfully built, you volition want to elevate information technology to an empty SD bill of fare that is under 8GB or less.
You can find the firmware nether "firmware\.pio\build\STM32F103RET6_creality" , firmware should be replaced with the path where you accept the firmware. In my example, the path is "C:\Users\Possessor\Desktop\Marlin-bugfix-two.0.x\.pio\build\STM32F103RET6_creality".
The file name will be firmware-date-randomnumber.bin, so firmware-20210225-125416.bin for me.
Install the Firmware on the Printer
This pace sounds harder than it actually is. Assuming you copied the right file to a blank SD card, all you need to do is put the SD card in the printer and power it on. From in that location, the printer volition pull the file and install it on the printer. The entire process should accept less than xxx seconds. Once the printer boots into the standard interface, you tin remove the SD carte.
Set Z-Offset in Marlin Firmware
Now that we accept the firmware updates made, we tin can start the process of setting your z-start. Follow these steps to get the perfect z-offset for your printer quickly.
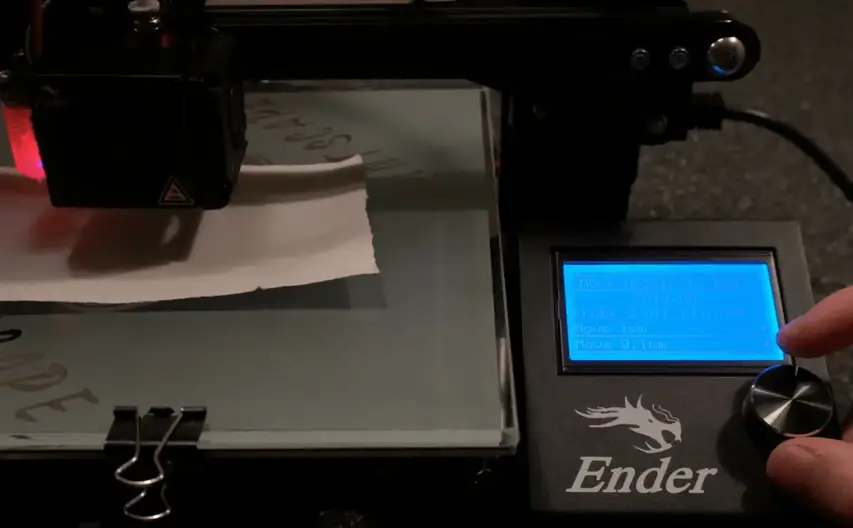
Heat Build Plate and Nozzle to Normal Printing Temperature
The offset thing you volition want to practise is estrus your build plate and nozzle to average printing temperatures. For me, I did 60 and 190 degrees.
You can do that by following these steps.
- Open the Menu
- Get to Temperature
- Select Nozzle
- Fix to 190
- Select Bed
- Prepare to 60
- Wait for everything to get up to the set up temperatures
Run the Z-Offset Magician to Get Your Initial Z-Beginning
Once everything is up to temperature, you will want to run the Z-Offset Magician.
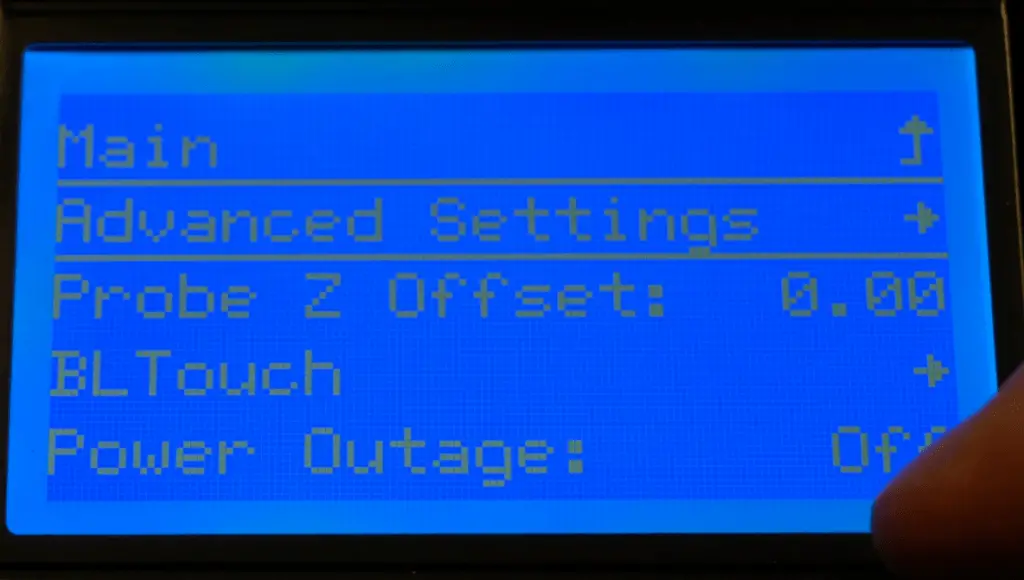
Steps to run the Z-Offset Wizzard
- Open up the Menu
- Get to Configuration – Advanced Settings – Probe Offsets – Z Prob Magician
- Select Motion 0.1mm
- Lower the z-axis by 0.1mm until you lot get to paper top from the build plate
- Closeout of that Move 0.1mm window
- Select Done

Kick-Off Test Print and Apply Babystepping to Make Adjustments
Once you accept your initial z-starting time value gear up, you will want to kick off a examination impress so nosotros can use babystepping to dial in the final z-outset value.
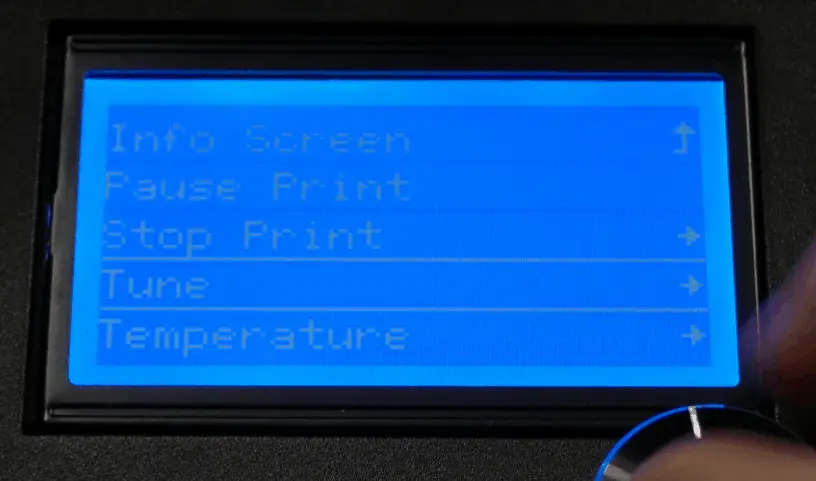
Steps to use babystepping to conform the z-axis.
- Wait for the examination impress to starting time
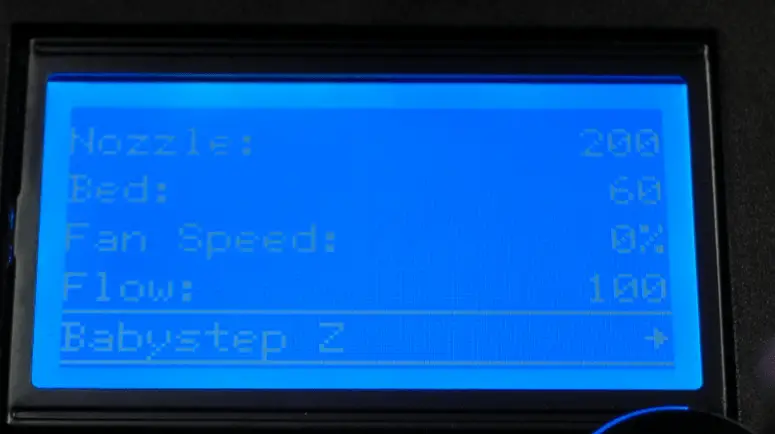
- Open the Menu
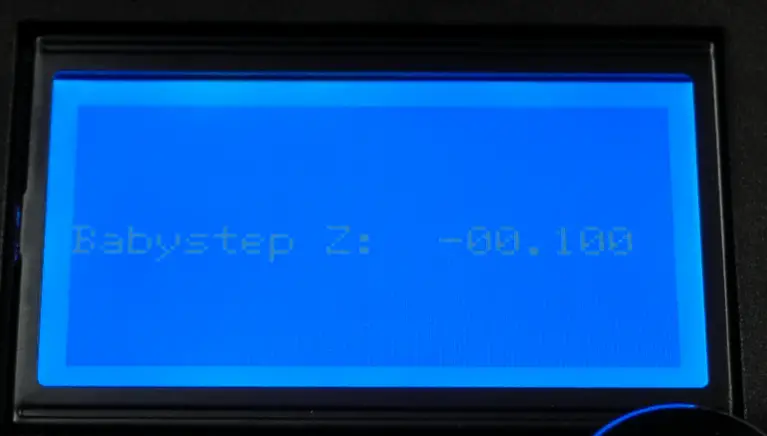
- Go to Tune and Select Babystep Z
- Make adjustments, either up or downward, until y'all have the right layer height
- Make a note of the adjustment, in my case, it was -0.1mm.
Update Z-Commencement
Now we desire to update the z-first to account for the change.
Here are the steps to update the z-offset.
- Cease the print if it's still running
- Open the Carte du jour
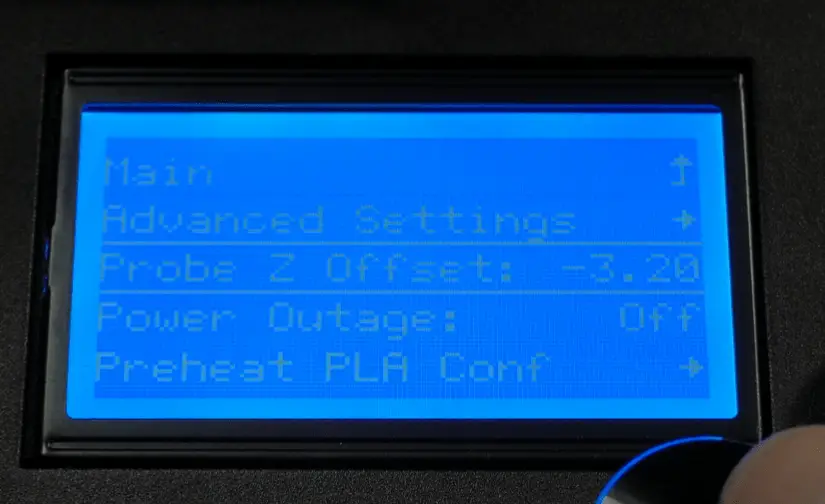
- Get to Configuration and select Probe Z Offset
- The current value is -3.2
- The new value will exist -3.iii (-iii.2 + -0.1)
Store Settings to EEPROM
Finally, we need to save the z-offset so it will persist when you ability off the printer. You tin can do that past going to Menu – Control – Bed Leveling – Store Setting. Do Not skip this pace.
Next, you will desire to boot off a exam impress and make sure the first layer looks right. If everything looks good your z-starting time should be ready correctly, and you lot shouldn't need to make adjustments unless you lot alter how the BLTouch is mounted.

Related Questions
What if I don't accept a BLTouch? – If you don't have a BLTouch, y'all won't need to worry about setting the z-start, but you will demand to level the build plate manually.
What if I have a TFT35? – The BTT touchscreens, similar the TFT35 (available on Amazon), have the z-beginning wizard built-in, only you still need to enable babystepping. If y'all have a BTT touchscreen, you should follow this guide "BIGTREETECH Touchscreen Z-Offset Wizard – Complete Guide".
Other Recommendations? – I recommend that once you lot get your firmware updated, BLTouch installed, and z-offset set correctly, I recommend calibrating your e-steps and press a Temperature Tower.
Related Articles
- Creality 32-Bit Mainboard Firmware Upgrade Guide
- Guide to Install a BLTOUCH on a Creality 32-fleck Mainboard
- Create a Temperature Tower Using Cura – The Like shooting fish in a barrel Style
- Cura Profiles
- 3D Printscape Marlin Builds
Epitomize
Setting the z-offset used to be the most challenging part of installing a BLTouch, simply recent firmware changes accept made the task much more manageable. Utilizing the Z-Offset Wizard combined with babystepping gives y'all the power to rapidly and easily fix your z-showtime in a fraction of the fourth dimension.
Make sure yous cheque out our YouTube aqueduct, and if yous would like any additional details or have whatever questions, please leave a comment below or join us on Discord. If you liked this article and want to read others click here.

How To Set Z Probe Offset,
Source: https://3dprintscape.com/z-offset-wizard-complete-guide/
Posted by: whiteheadpeopeor.blogspot.com
0 Response to "How To Set Z Probe Offset"
Post a Comment